Configuring a MIDI Track: Instrument Rack
Let's configure a MIDI track. You can continue working in the same project where you followed the previous tutorial to combine generative drum beats with harmonic and melodic content.
Loading the Device
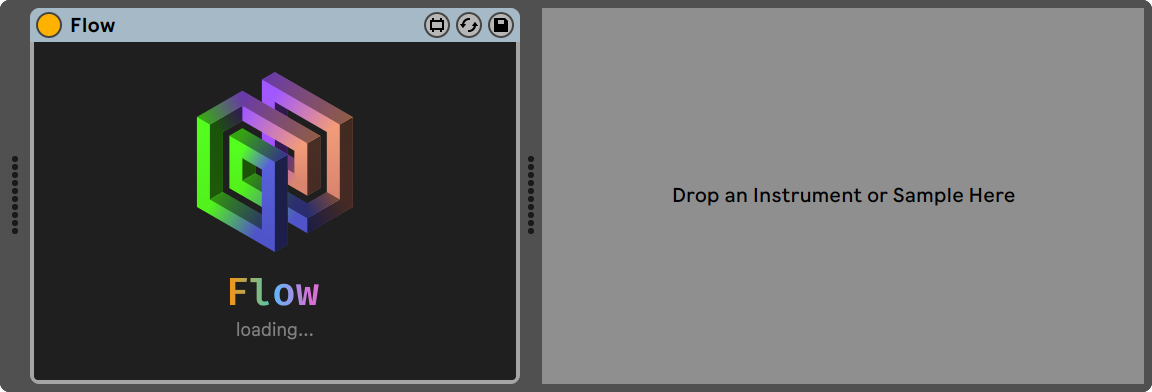
Drag and drop Flow from your Ableton Live User Library onto a new MIDI track. Again, you will see a loading screen followed by the main device interface.
- Loading screen
- Rack view
Configuring Synths and Key Zones
In this tutorial, you will learn how to route Flow's output to multiple synths based on key zones. This way, you can create rich and varied musical textures by using different sounds for each part. You will use Ableton Live's Key Zone Editor to assign different MIDI note ranges to different synths. Then, you will configure Flow to output notes on multiple octaves, so that each sequencer part can play its own synth.
Instrument Rack
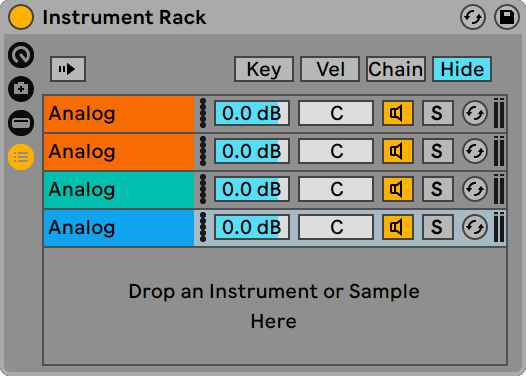
To create a container for multiple synths, drag and drop an Instrument Rack device onto the MIDI track right after the Flow device.
Next, add an Analog device to the Instrument Rack. This synth will play a bass sound in the lower octave range.
Then, add three more Analog devices to the Instrument Rack. These synths will play the chords, arpeggio and melody.
Now let's set up the key zones.
Key Zones
To assign different key ranges to each synth in the Instrument Rack, follow these steps:
- Click the Key button to open the Key Zone Editor;
- Drag the edges of the key zones to adjust their ranges. Use these settings:
- Key Zone 1: C-2 — B0 for the bass part;
- Key Zone 2: C1 — B2 for the chords part;
- Key Zone 3: C3 — B4 for the arpeggio part;
- Key Zone 4: C5 — G8 for the melody part.
Your Instrument Rack configuration should look like this:
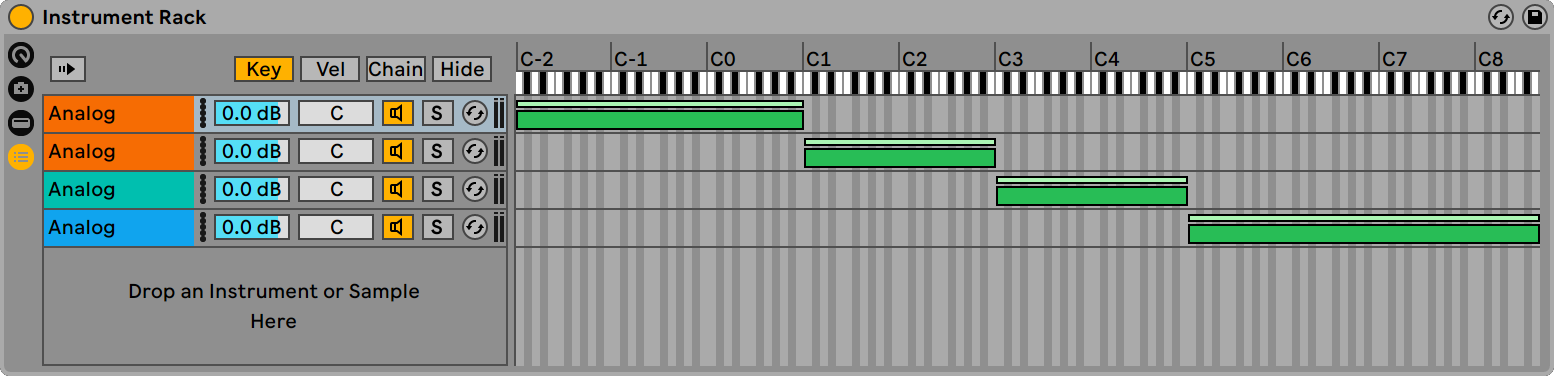
Each synth is now mapped to a separate key range on the keyboard.
Synths
Now, let's assign different roles and sounds to each synth using simple sound design techniques. Adjust the following parameters of the synths:
- Synth 1
- Synth 2
- Synth 3
- Synth 4
Synth 1 will be our bass synth. It will have a smooth attack and a low-pass filter to remove the high frequencies:
- Filter 1 Cutoff Frequency: 500 Hz;
- Amp1:
- Envelope Slope: Linear;
- Envelope Attack Time: 50 ms;
- Envelope Release Time: 10 ms.
Synth 2 will play chords. It will have a sharper attack and a low-pass filter that allows more harmonics to come through. Both oscillators will be tuned up by one octave to increase the pitch:
- Oscillator 1 Octave and Oscillator 2 Octave: 1;
- Filter 1 Cutoff Frequency: 900 Hz;
- Amp1:
- Envelope Slope: Linear;
- Envelope Attack Time: 20 ms;
- Envelope Release Time: 20 ms.
Synth 3 will play arpeggios. It will have a short decay to create a rhythmic effect. Both oscillators will be lowered by an octave to compensate for the higher MIDI note range from Flow:
- Oscillator 1 Octave and Oscillator 2 Octave: -1;
- Filter 1:
- Cutoff Frequency: 1.2 kHz;
- Resonance: 25%;
- Amp1:
- Envelope Slope: Linear;
- Envelope Decay Time: 120 ms;
- Envelope Sustain Level: 0.
Synth 4 will play a smooth melody. It will use a soft attack and a long release, with a subtle detune between two oscillators. Both oscillators will be tuned down by two octaves to match the higher MIDI note range from Flow:
- Oscillator 1:
- Octave: -2;
- Detune: 0.05;
- Oscillator 2:
- Octave: -2;
- Detune: -0.05;
- Filter 1:
- Cutoff Frequency: 1.2 kHz;
- Resonance: 30%;
- Amp1:
- Envelope Slope: Linear;
- Envelope Attack Time: 100 ms;
- Envelope Release Time: 1.00 s.
Now your Instrument Rack configuration should look like this:
- Synth 1
- Synth 2
- Synth 3
- Synth 4


The setup is done. You are now ready to create some generative music!