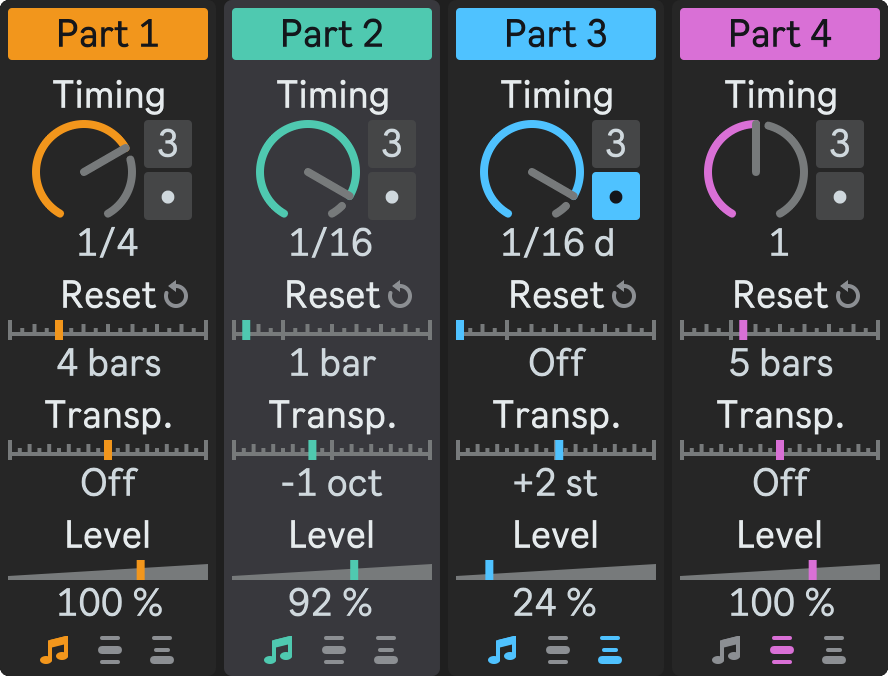
Mixer
The Mixer section lets you control various parameters of each of the four sequencer parts that run in parallel and produce musical events.
You can access the Mixer from the rack view or the floating plug-in window.
Mixer Strip
Each sequencer part has its own Mixer Strip with the following parameters.
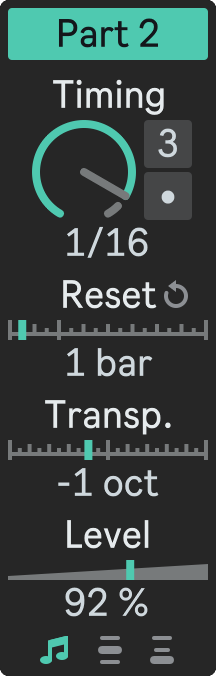
Part Activator
The Part Activator determines whether the sequencer part sends MIDI events to the output or not.

When the button is lit, the part is active and sends MIDI events. When the button is dimmed, the part is muted and does not send MIDI events.
Timing
The Timing parameter sets the speed of the state machine transitions. You can also use the Triplets and Dotted buttons to modify the timing accordingly.
Each time the state machine enters a new state, it outputs all the notes and modulation values defined in that state.
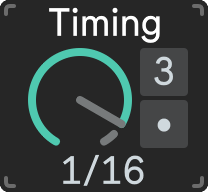
- Range: 32 – 1/32;
- Default value: 1/16, Triplets off, Dotted off.
- Hold down Shift while dragging the dial up or down to adjust it more precisely.
- Double-click the dial to reset it to its default value of 1/16. This will not affect the Triplets and Dotted time buttons.
- Double-click the Timing anywhere else to reset both the dial and the buttons to their default states of 1/16, Triplets off, Dotted off.
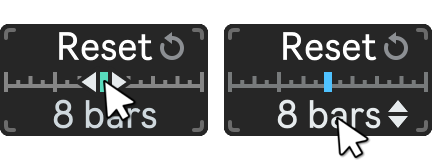
Reset Interval
The Reset parameter allows to force the corresponding state machine to reset at regular intervals. When the state machine resets, it goes back to the beginning and starts playing from either the first or a random state, depending on the Initial State parameter.
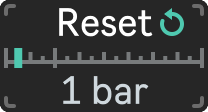
You can see when the state machine resets by looking at the Reset Indicator, which blinks every time this happens.
- Range: Off; 1 – 16 bars;
- Default value: 4 bars.
- The default change step is 2 bars.
- Hold down Shift while dragging to adjust the reset interval more precisely, changing the step to 1 bar.
- Double-click the Reset Interval to reset it to its default value of 4 bars.
You can change the values of the Reset Interval, Transposition and Level parameters by dragging them in different directions.
Here's how:
- To drag horizontally, move your mouse cursor over the horizontal bar above the value. You will see small arrows pointing left and right on both sides of the bar. Click and drag the bar left or right to adjust the value.
- To drag vertically, move your mouse cursor over the value itself. You will see small arrows pointing up and down next to the value. Click and drag the value up or down to adjust it.
Transposition
The Transposition parameter shifts the pitch of the generated notes up or down by a certain number of octaves or semitones.
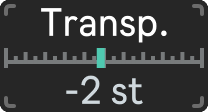
- Range: -5 octaves – +5 octaves;
- Default value: Off.
- The default change step is 1 octave.
- Hold down Shift while dragging to adjust the transposition more precisely, changing the step to 1 semitone.
- Double-click the Transposition to reset it to its default value of Off.
Level
The Level parameter affects the velocity of the output notes by multiplying the value generated from the velocity range by the level value. This allows you to balance each part levels between each other.
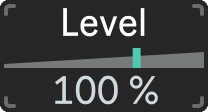
You can increase or decrease the level value to make the notes louder or quieter.
- Range: 0% – 150%;
- Default value: 100%.
- The default step is 10%.
- Hold down Shift while dragging to adjust the level more precisely, changing the step to 1%.
- Double-click the Level to reset it to its default value of 100%.
Output Indicators
Output Indicators show you when the parts produce MIDI events.

There are three types of events: Note, Pitch Bend and Mod Wheel. Each event has its own indicator that blinks when the event occurs.